Sample
Environment
The 2-BM microCT instrument has been designed to accomodate different kind of in situ cells.
Battery cell
to be completed
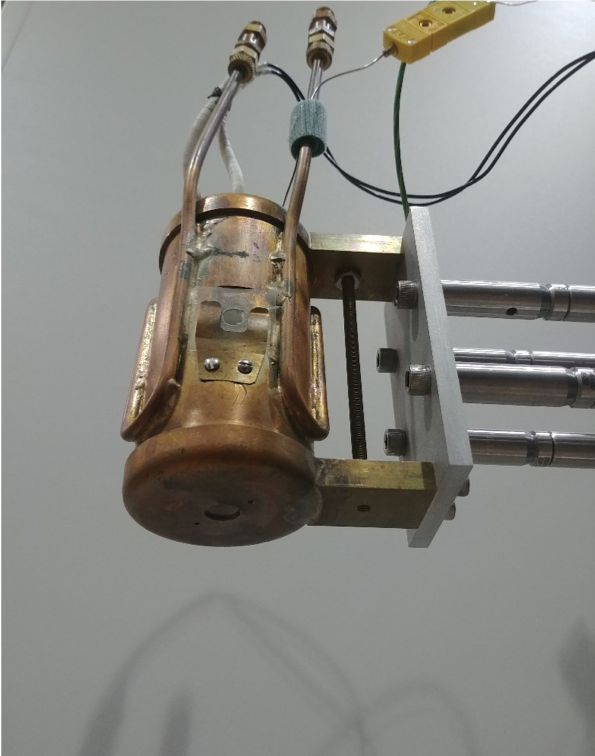
Furnace
Type |
Temp. Range |
Atmosphere |
Image |
Contact |
Loan |
Info |
More info |
|
Induction |
up to 1000 °C |
Air |
|
Ask |
1 |
Custom: water cooled |
||
Induction |
up to 1500 °C |
Air |
|
Ask |
2 |
Commercial parts: THM 200 heater, BK power supply, PTC 10 controller, 3 AWG welding wires, plus custom water cooler |

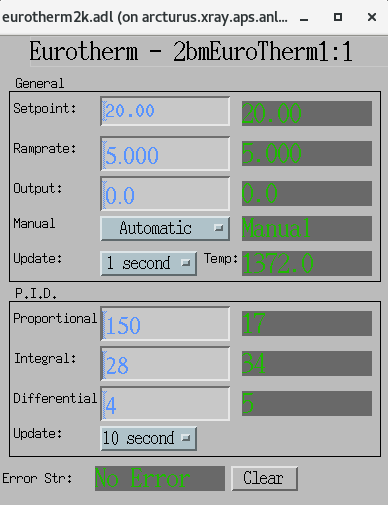
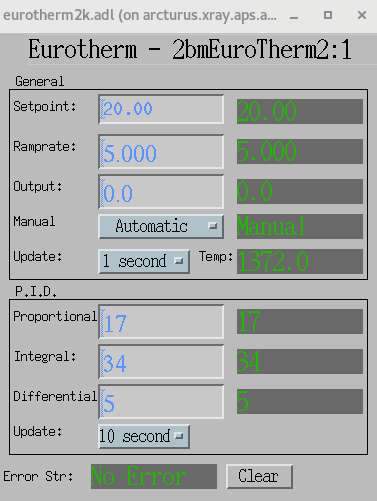
The furnaces use a Eurotherm temperature controller. To start the Eurotherm epics IOC and medm screens for the two controllers:
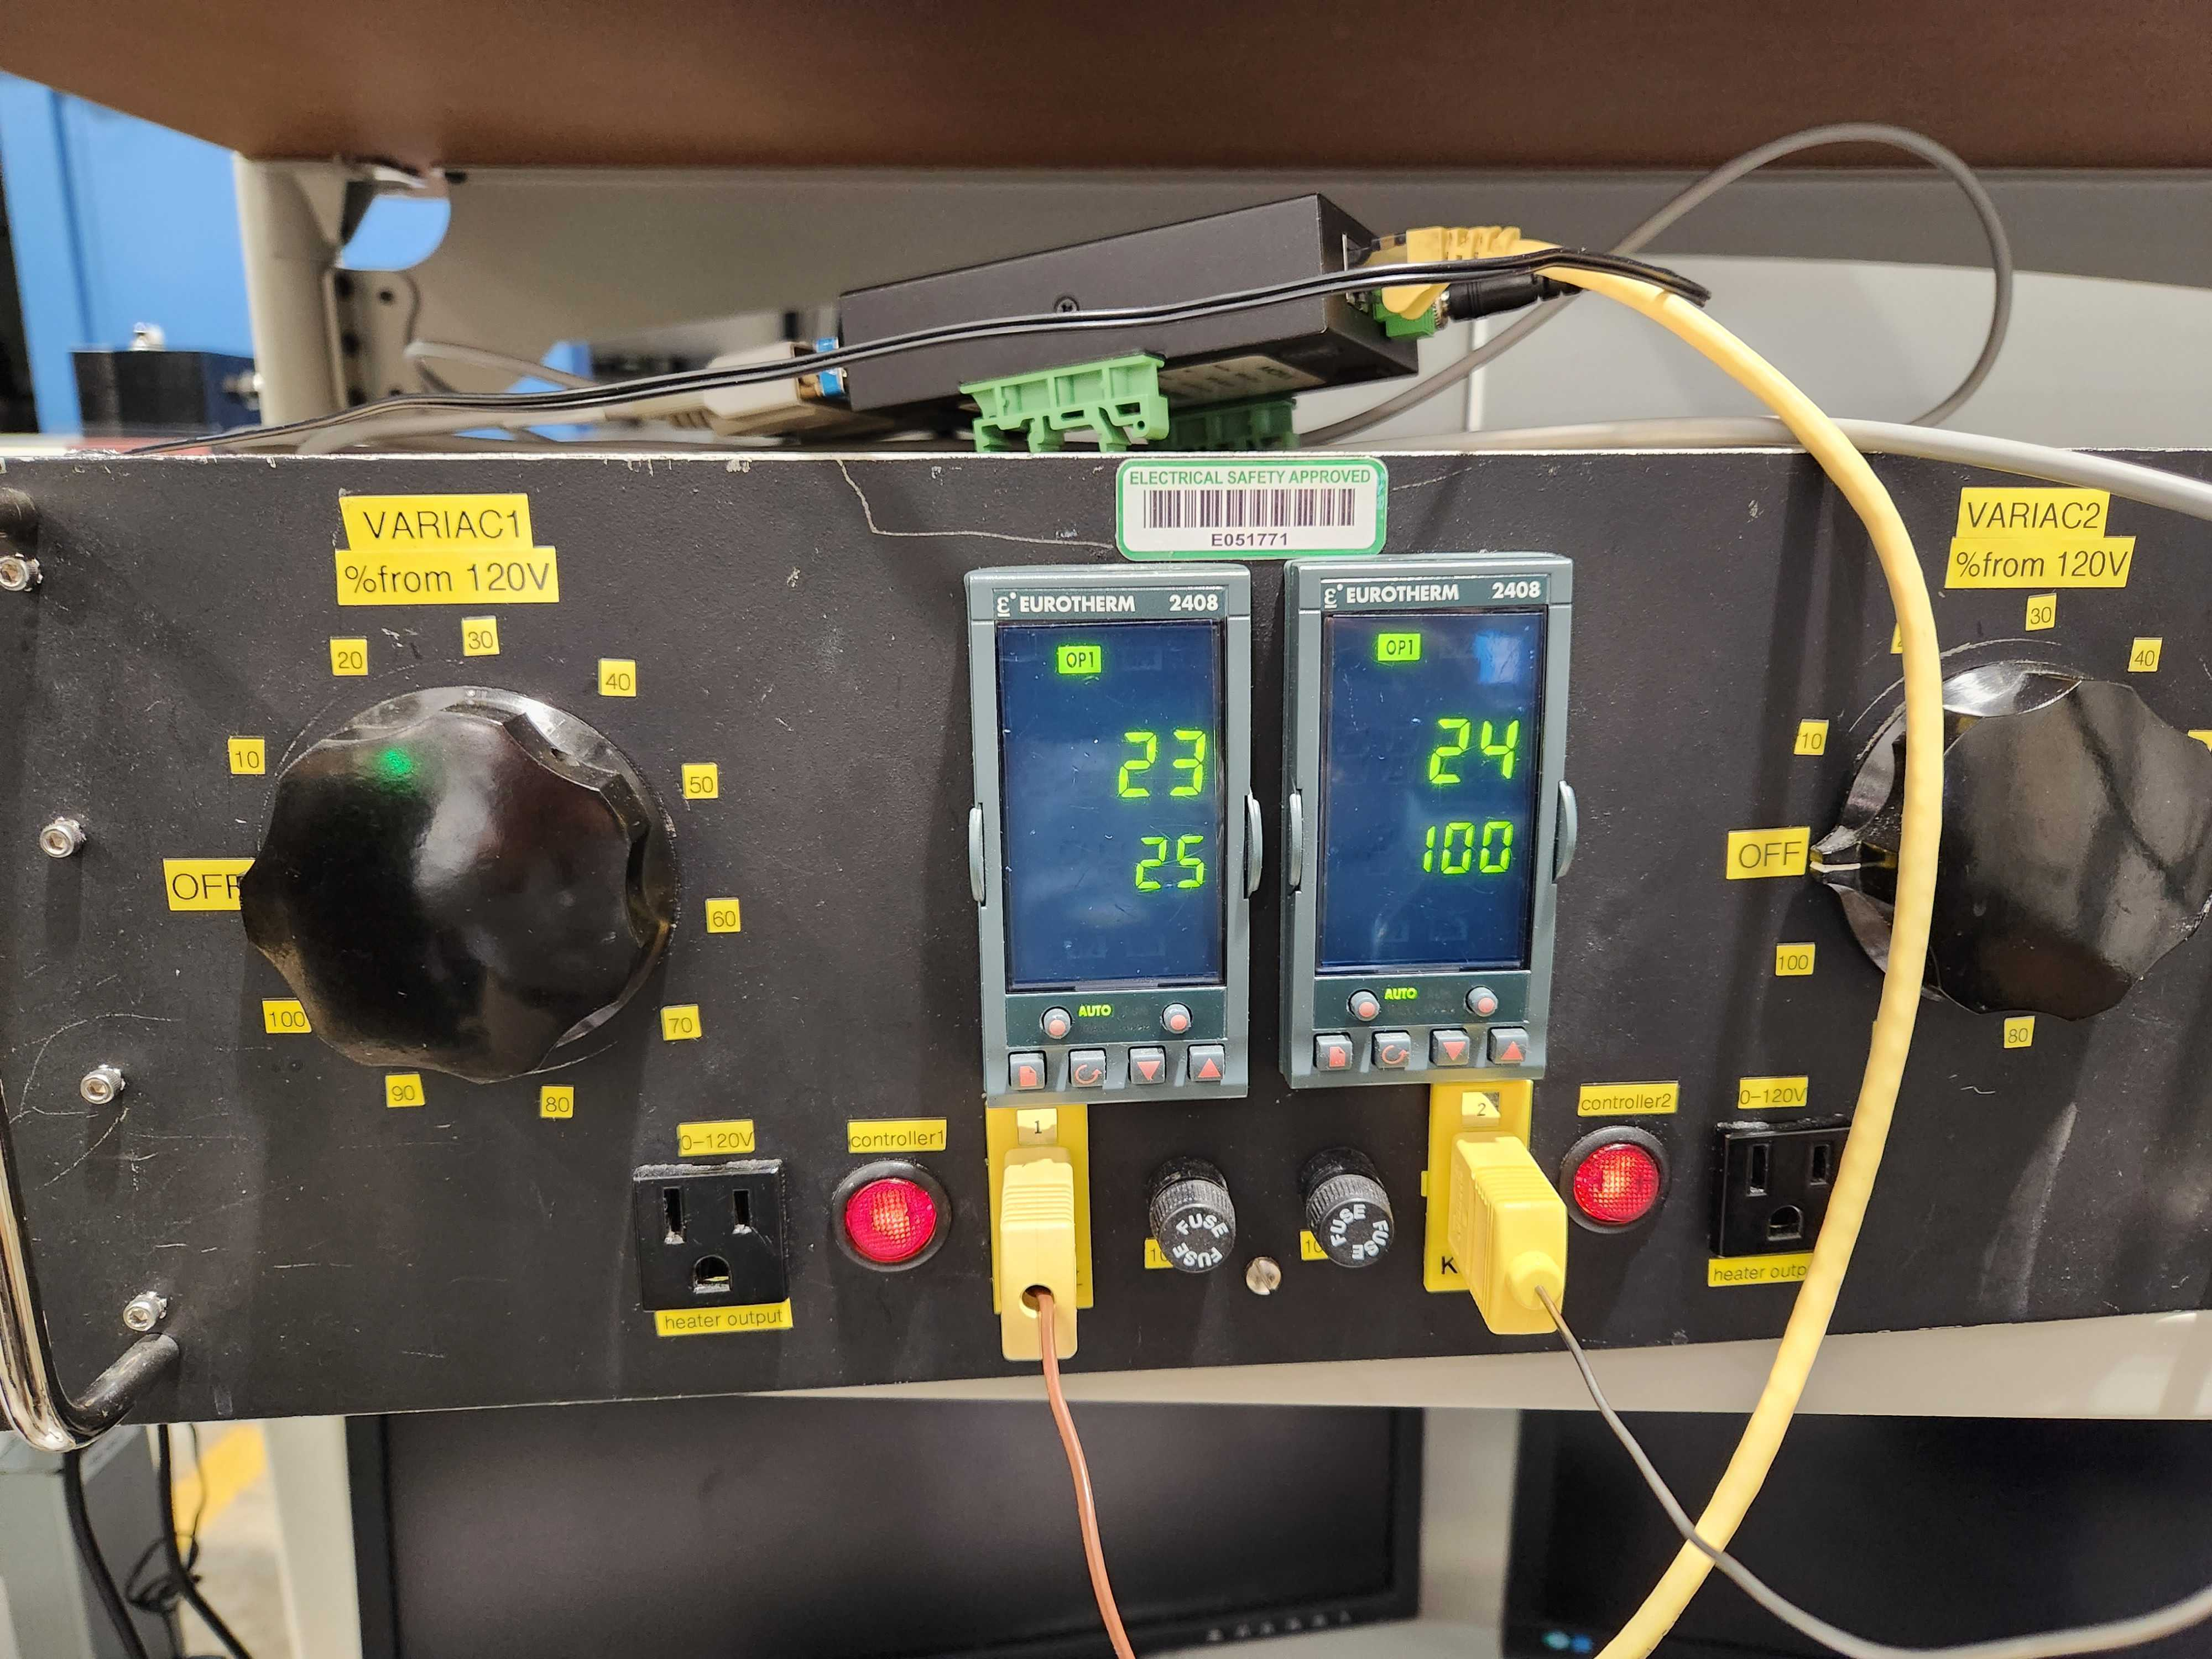
Eurotherm 1 (left controller):
[user2bmb@arcturus] $ /net/s2dserv/xorApps/epics/synApps_6_2_1/ioc/2bmEuroTherm/iocBoot/ioc2bmEuroTherm1/softioc/2bmEuroTherm1.sh run
[user2bmb@arcturus] $ /net/s2dserv/xorApps/epics/synApps_6_2_1/ioc/2bmEuroTherm/iocBoot/ioc2bmEuroTherm1/softioc/2bmEuroTherm1.sh medm
Eurotherm 2 (right controller):
[user2bmb@arcturus] $ /net/s2dserv/xorApps/epics/synApps_6_2_1/ioc/2bmEuroTherm/iocBoot/ioc2bmEuroTherm2/softioc/2bmEuroTherm2.sh run
[user2bmb@arcturus] $ /net/s2dserv/xorApps/epics/synApps_6_2_1/ioc/2bmEuroTherm/iocBoot/ioc2bmEuroTherm2/softioc/2bmEuroTherm2.sh medm
Load
Type |
Model |
Load Range |
Image |
Commercial |
Contact |
Info |
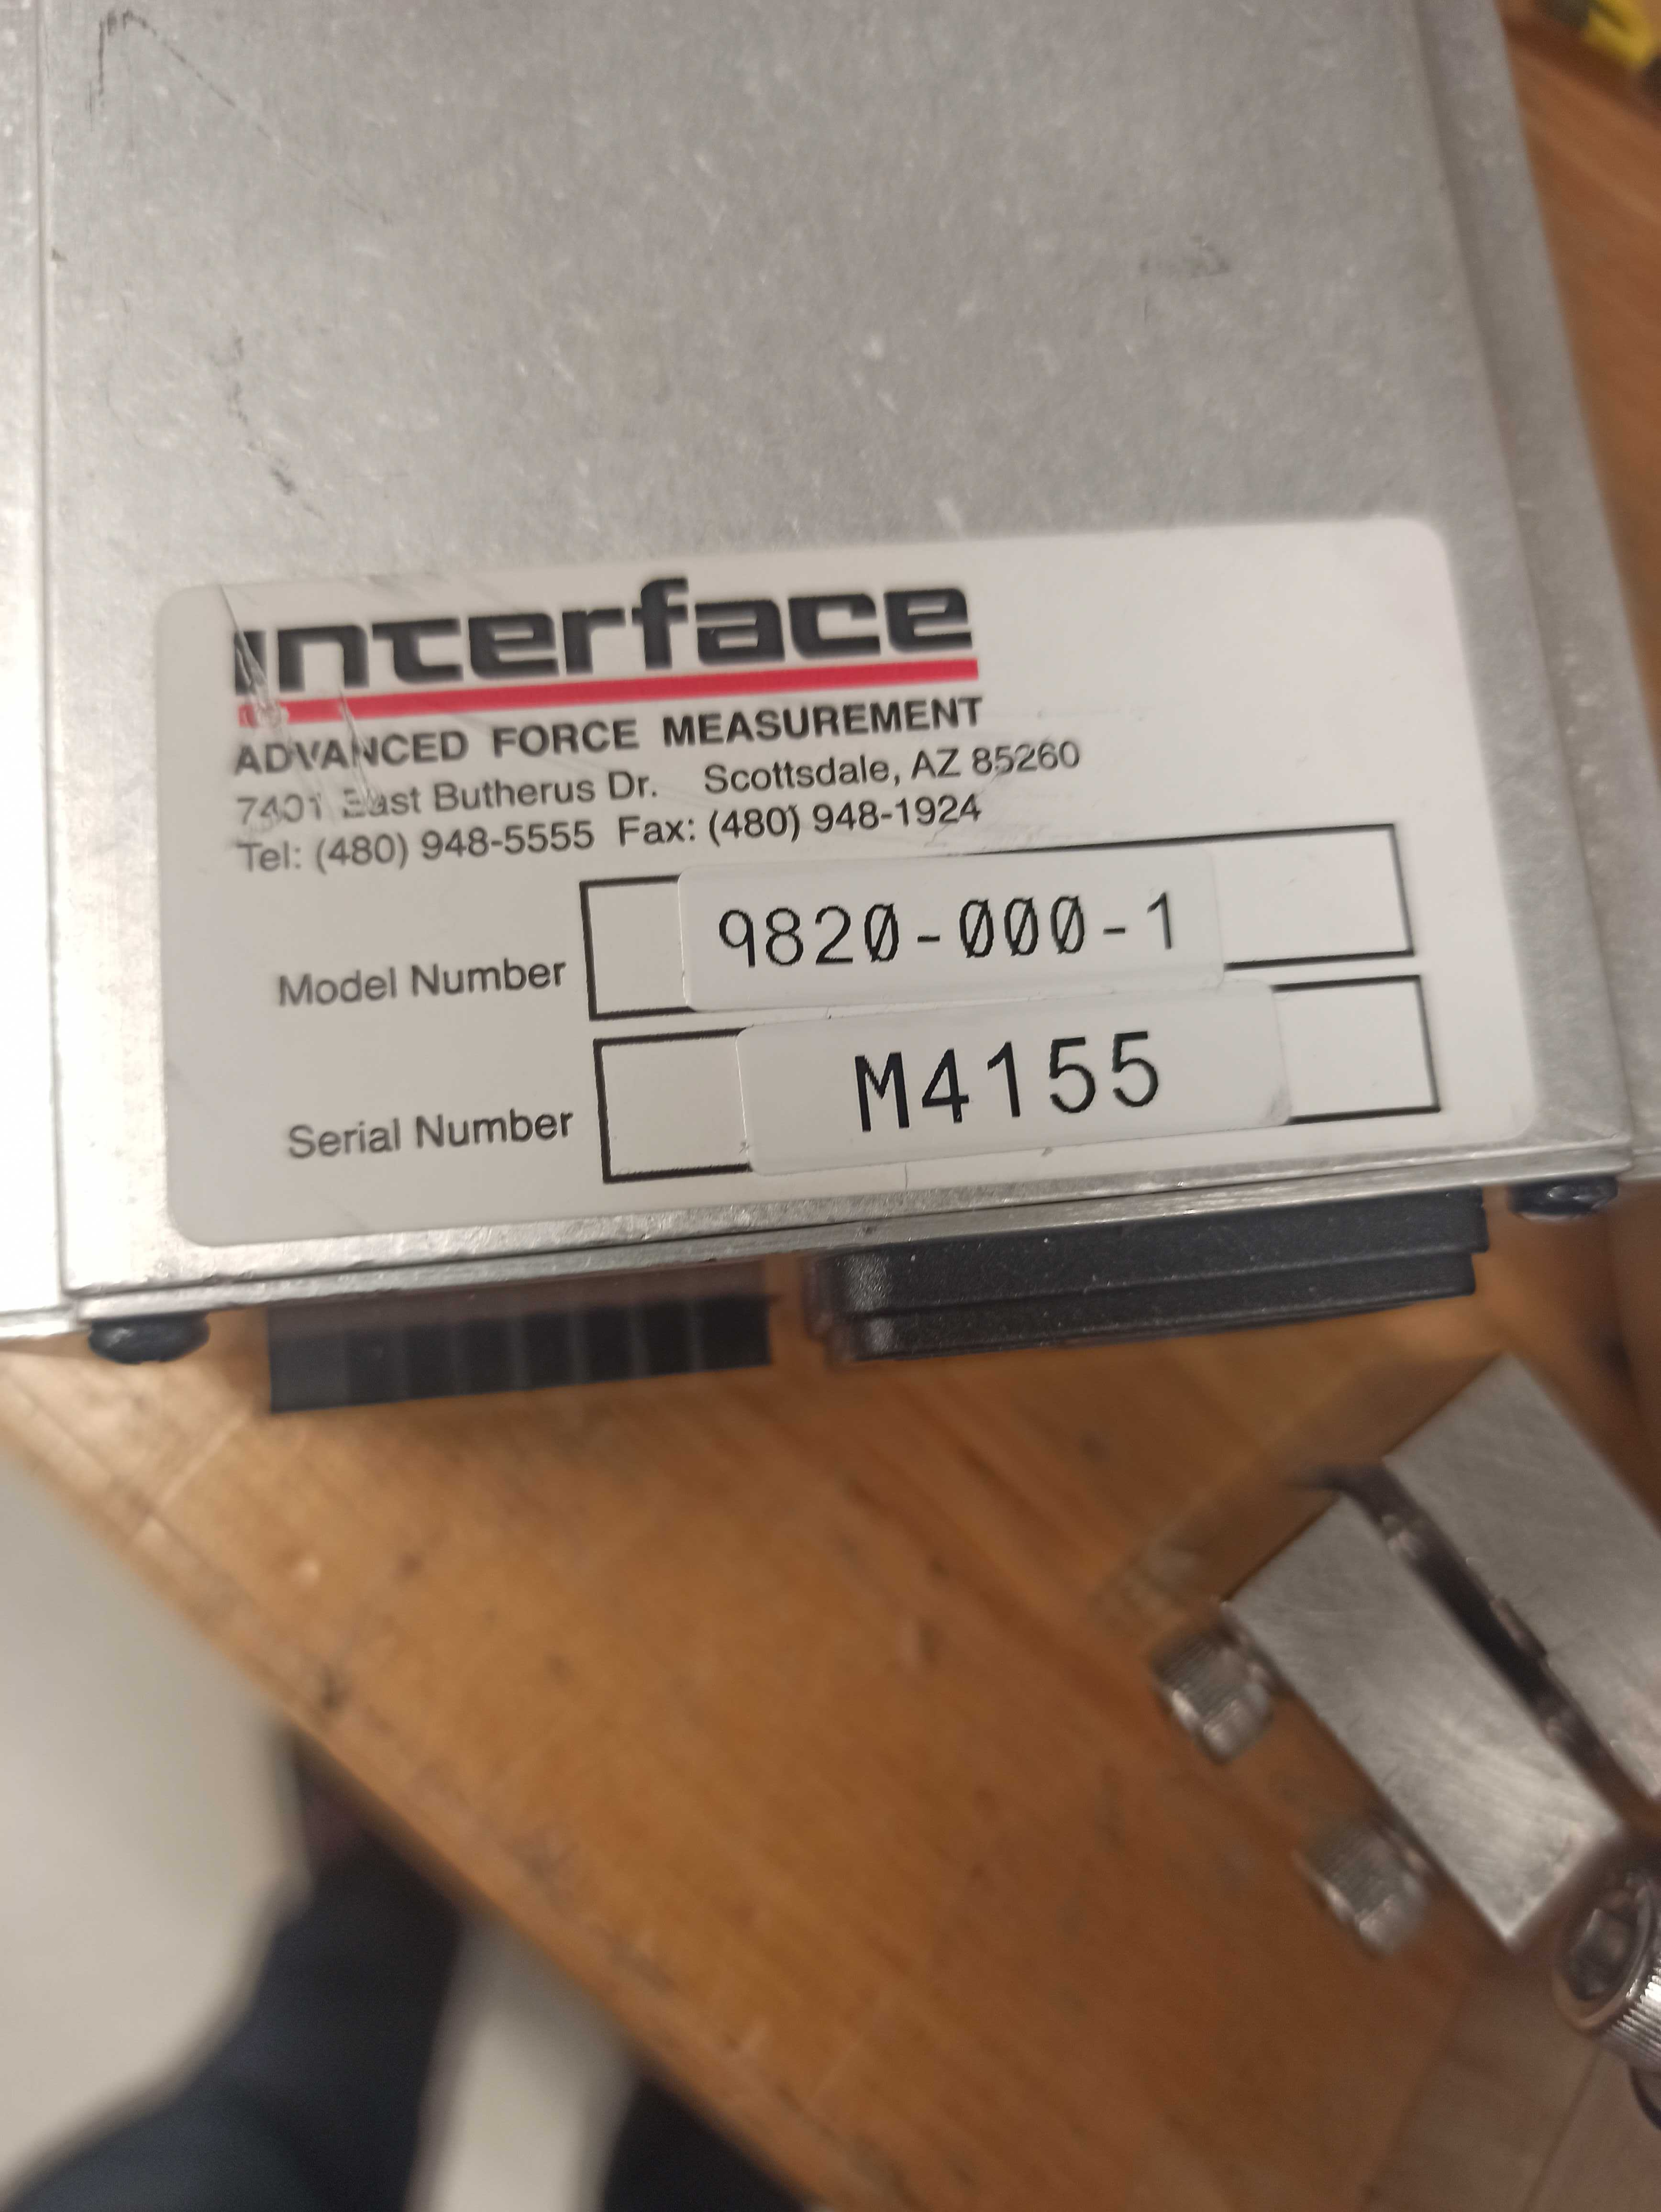
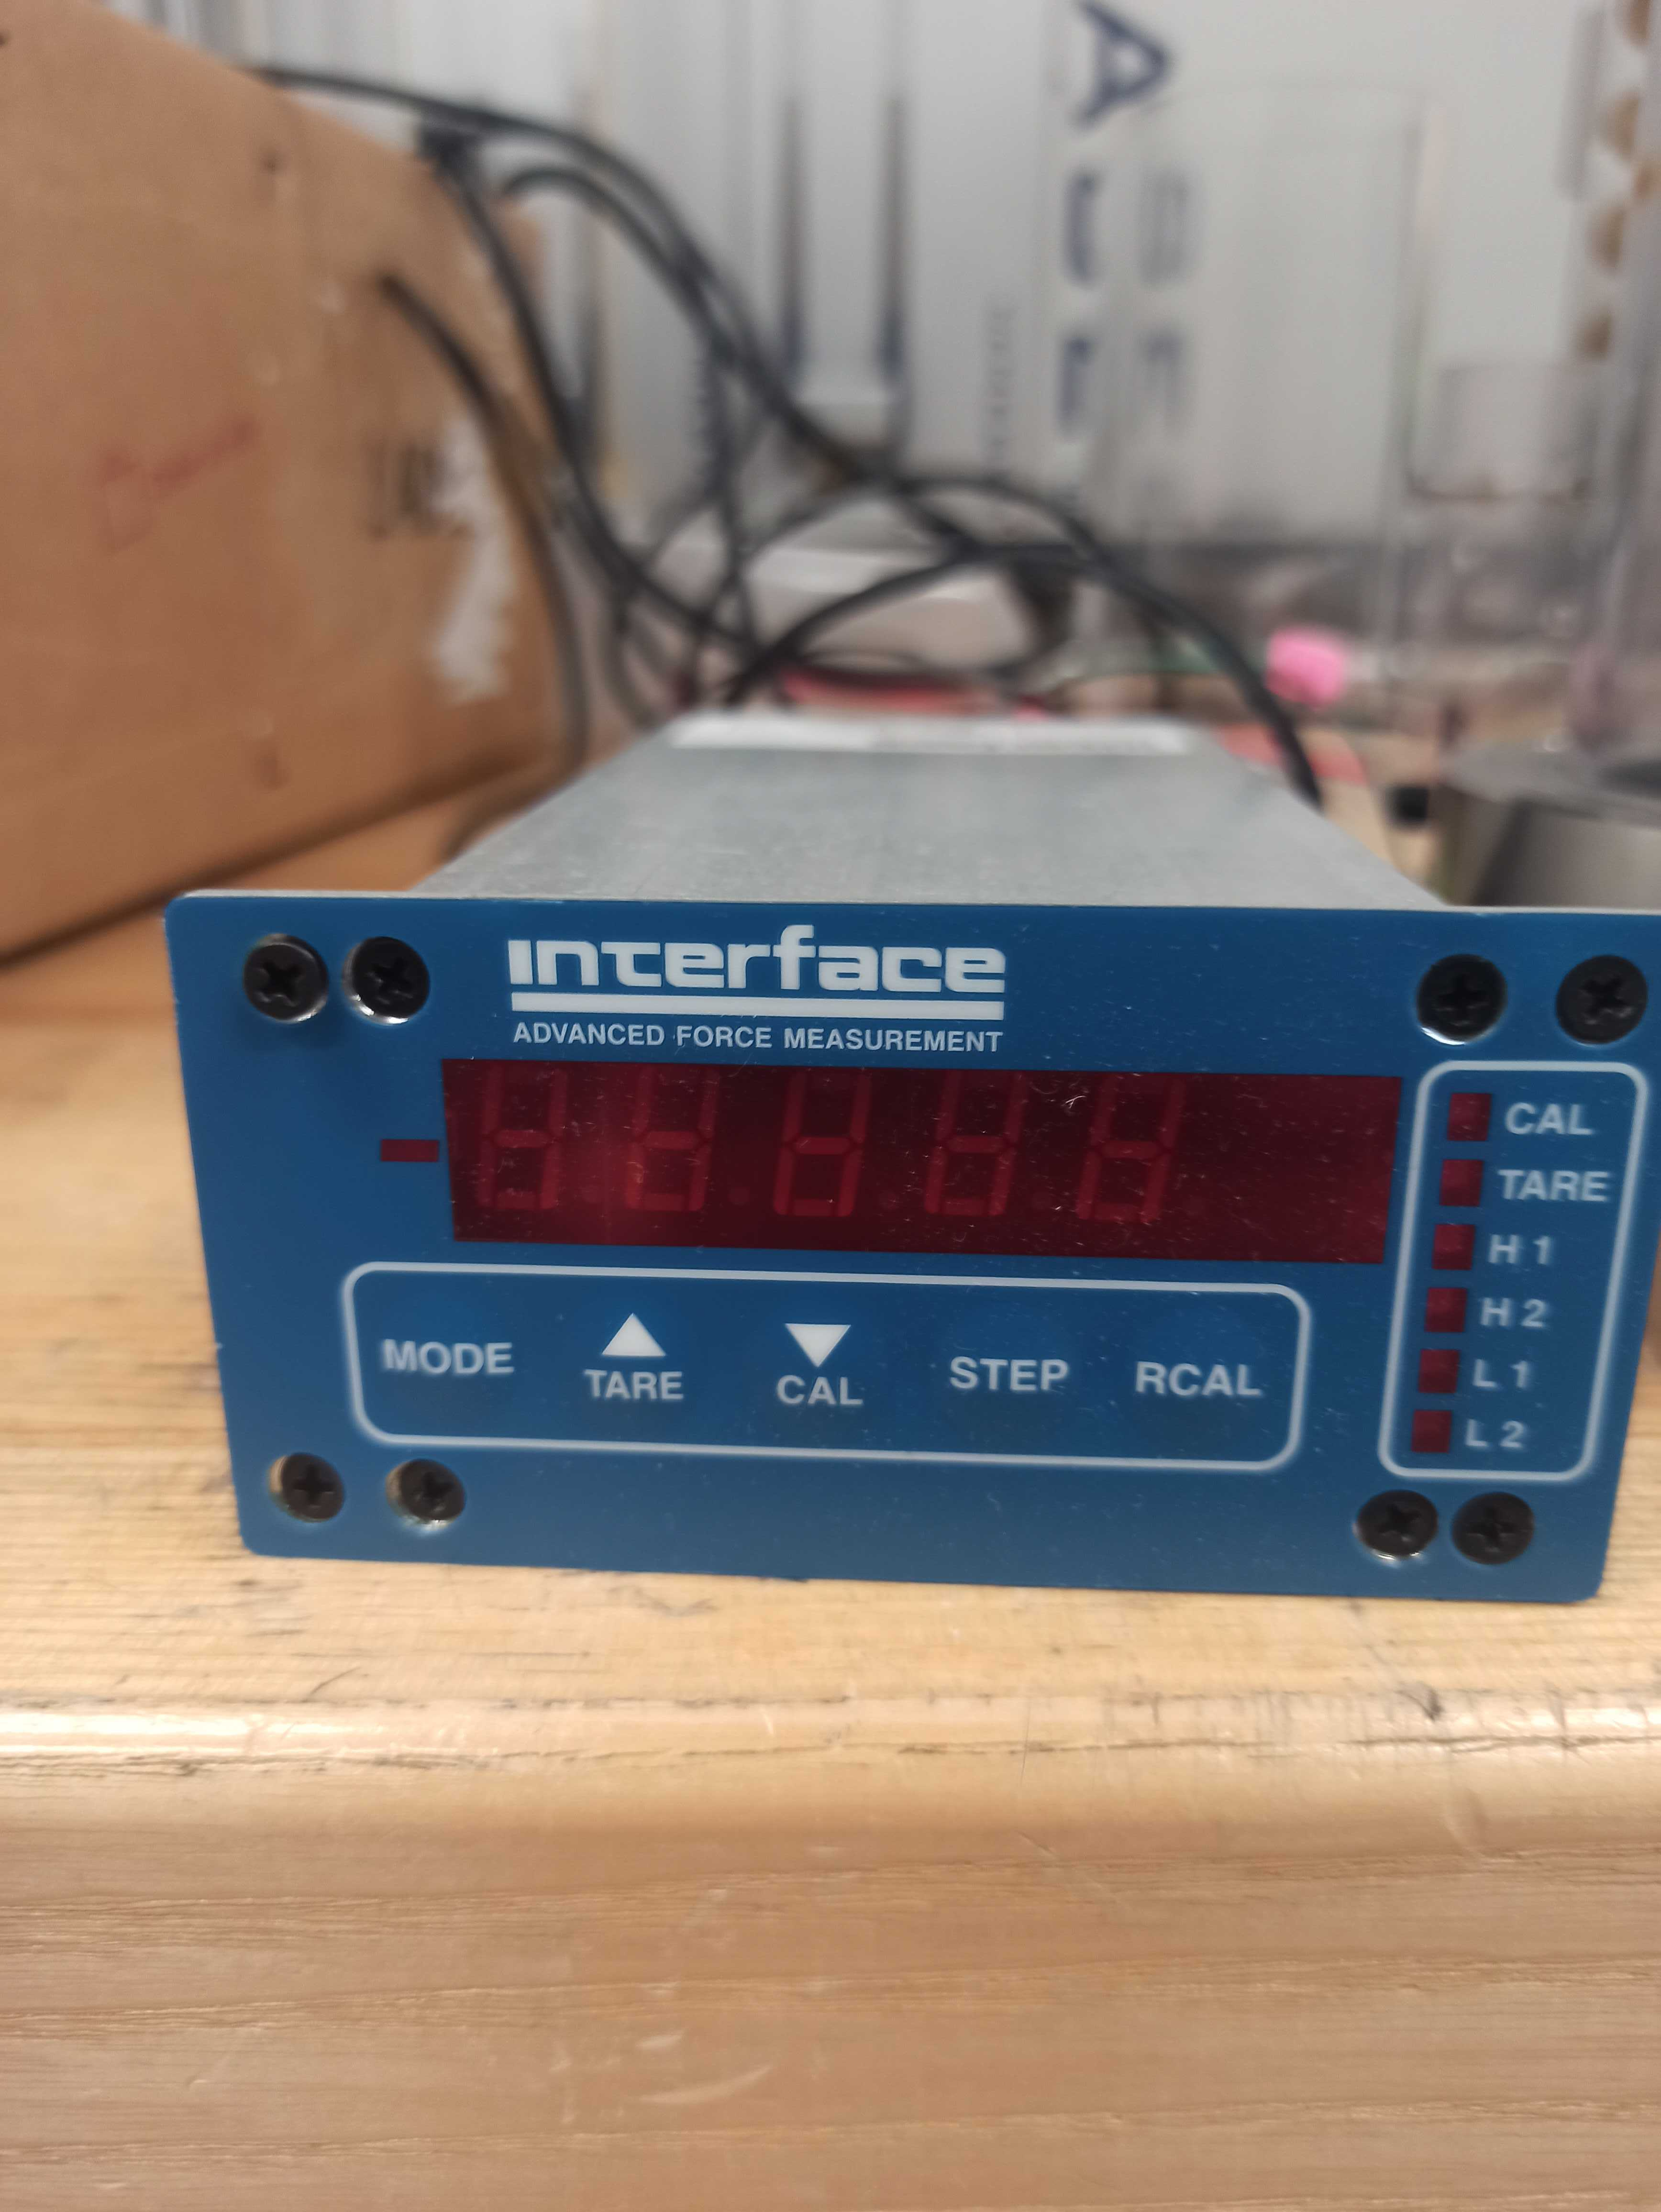
Load cell |
Custom |
600 N |
|
No |
||
Controller |
Int. 9820 |
|
|
Yes |

Cryo
Type |
Model |
Image |
Commercial |
Contact |
Info |
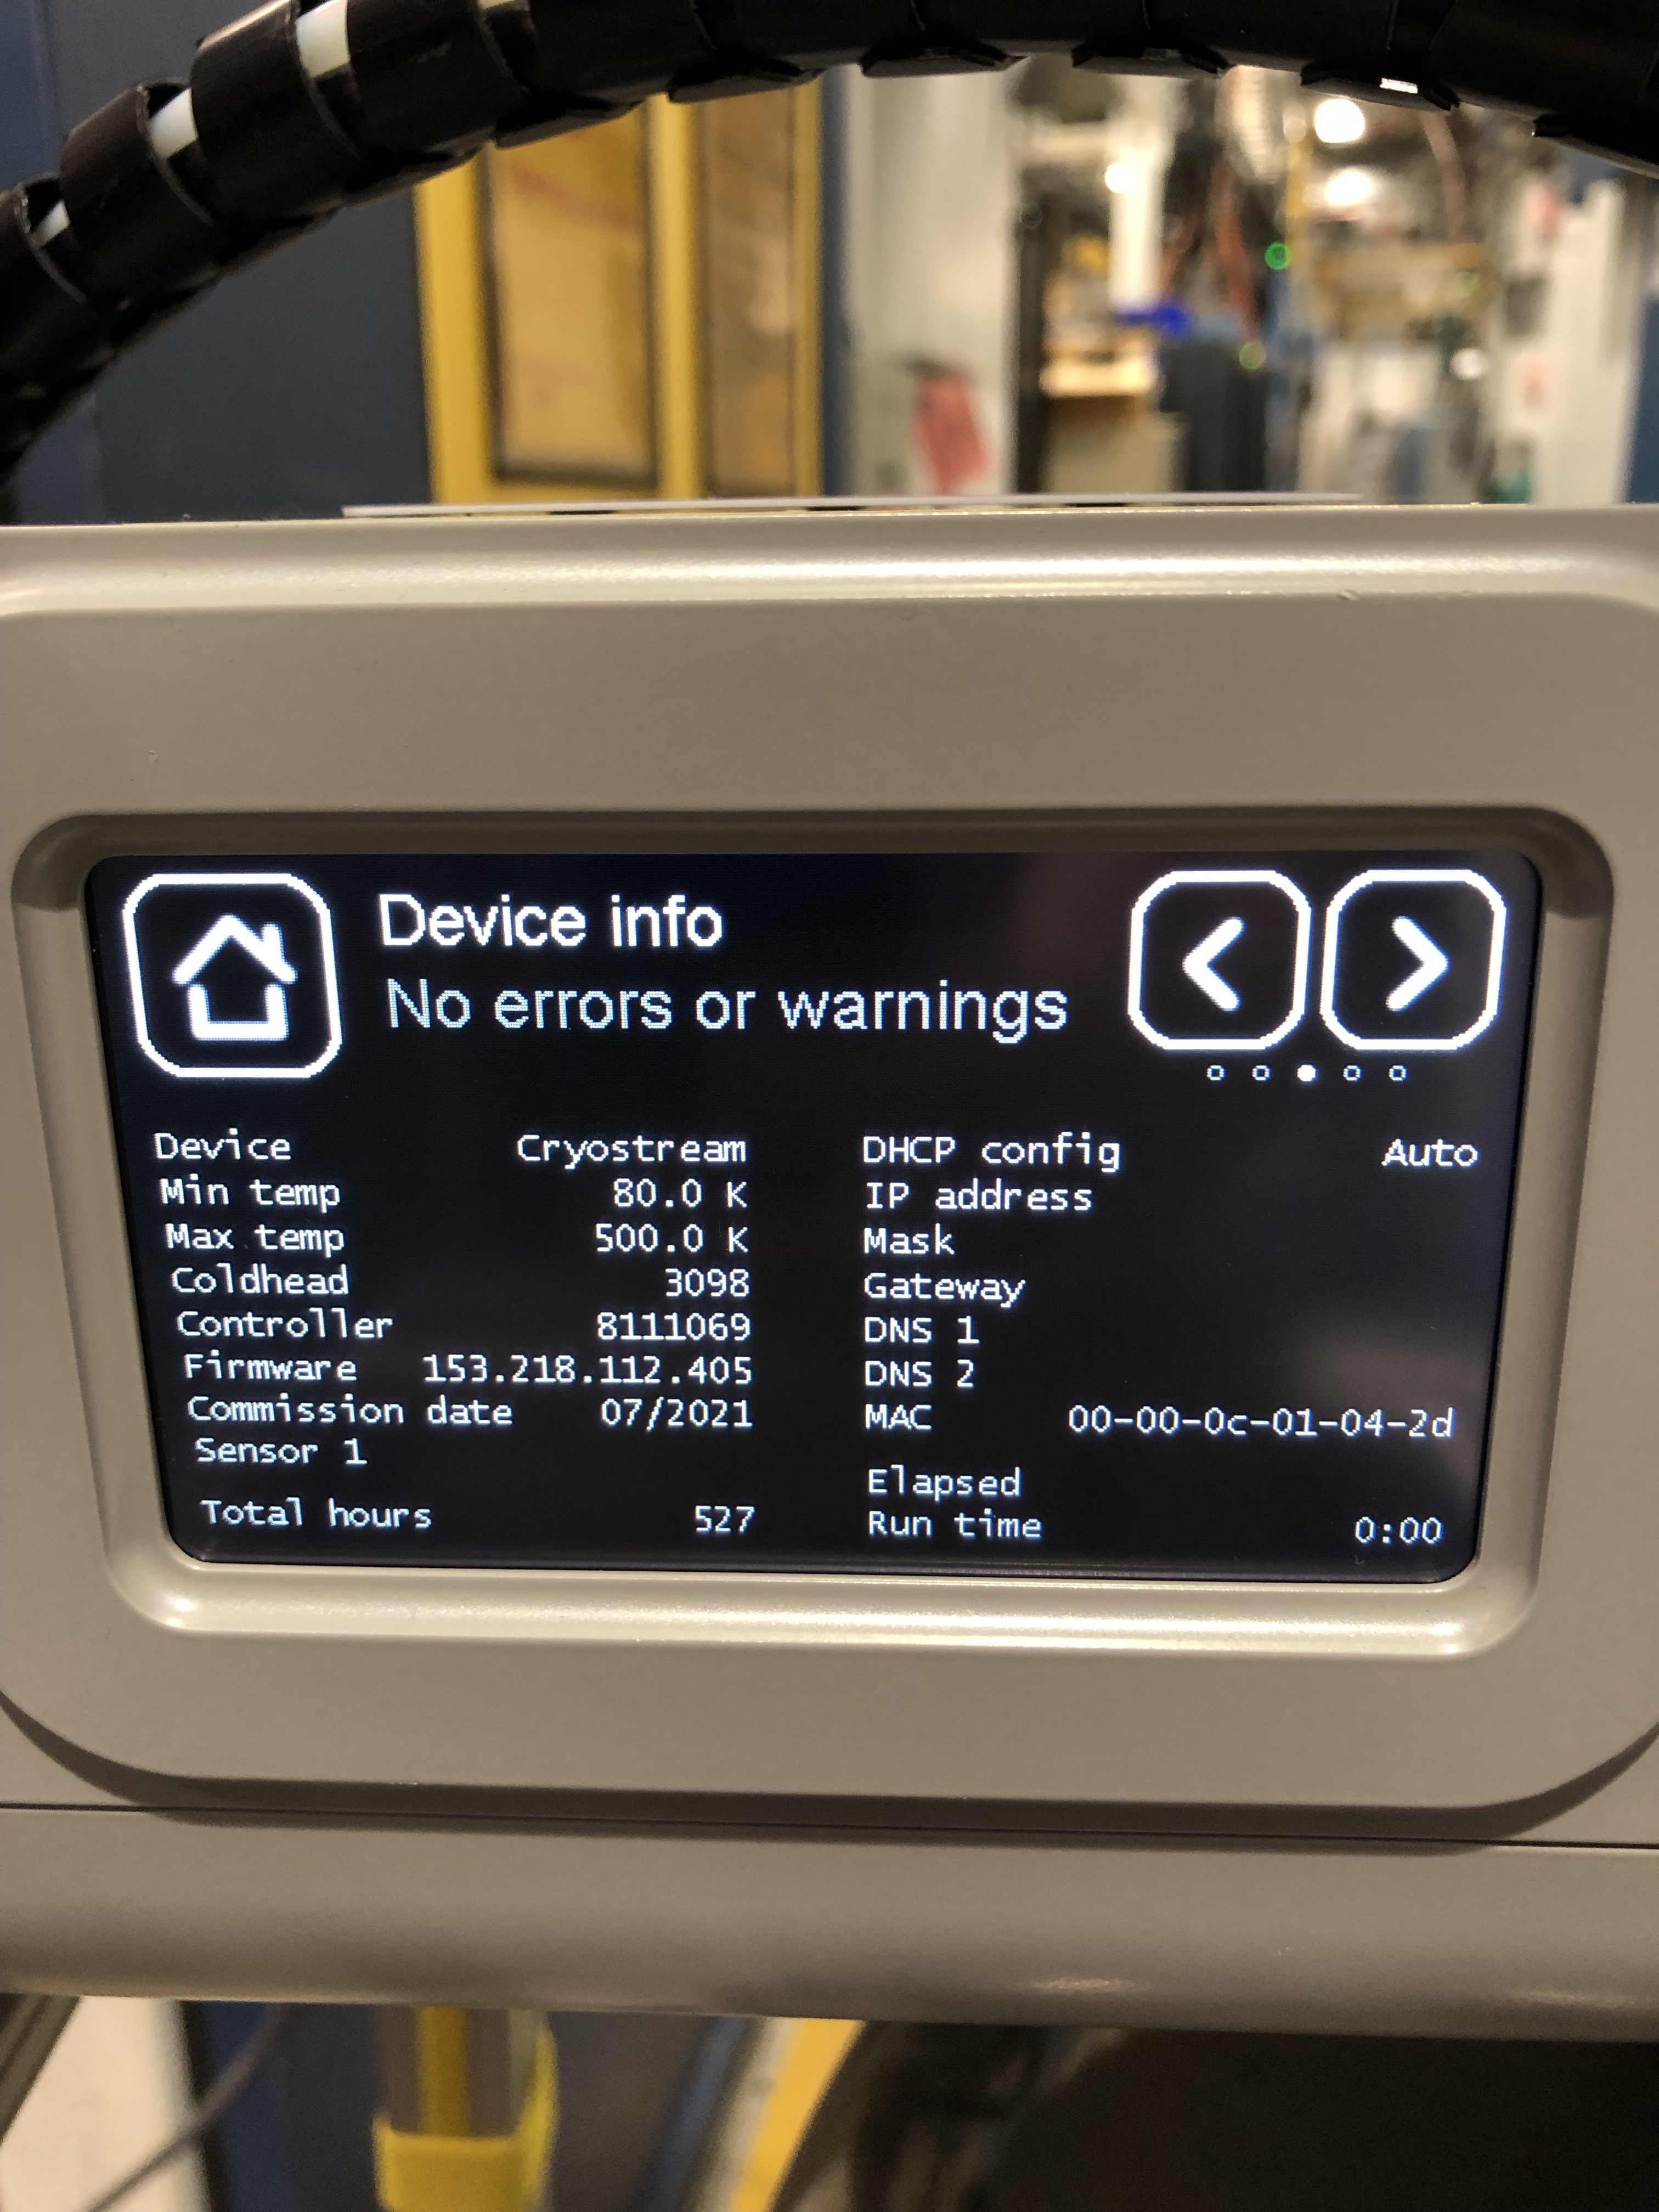
Cryo Jet |
OXFORD 800 |
|
Yes |
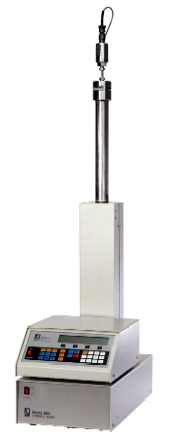
Pressure
Type |
Temp. Range |
Pressure |
Image |
Commercial |
Contact |
Info |
|
Teledyne ISCO 65D Syringe Pump |
up to 20,000 psi |
|
Yes |
1 |
|||
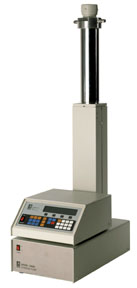
Teledyne 1000D Syringe Pump |
120 °C |
up to 12,000 psi |
|
Yes |
1 |
||
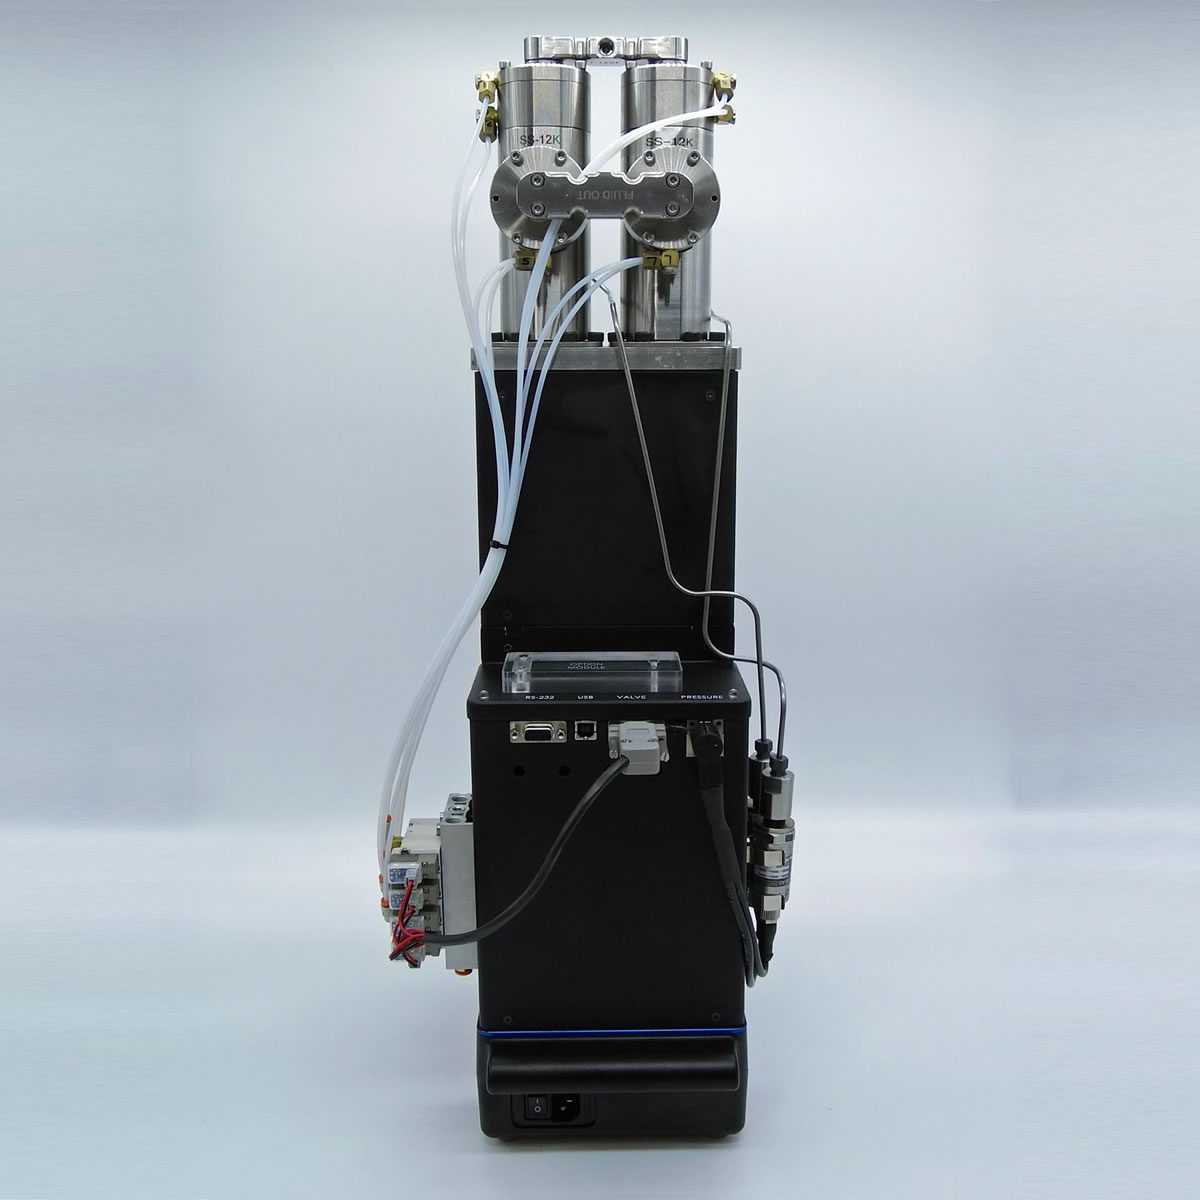
Vindum VP-12K dual-piston Pump |
120 °C |
up to 12,000 psi |
|
Yes |
1 |
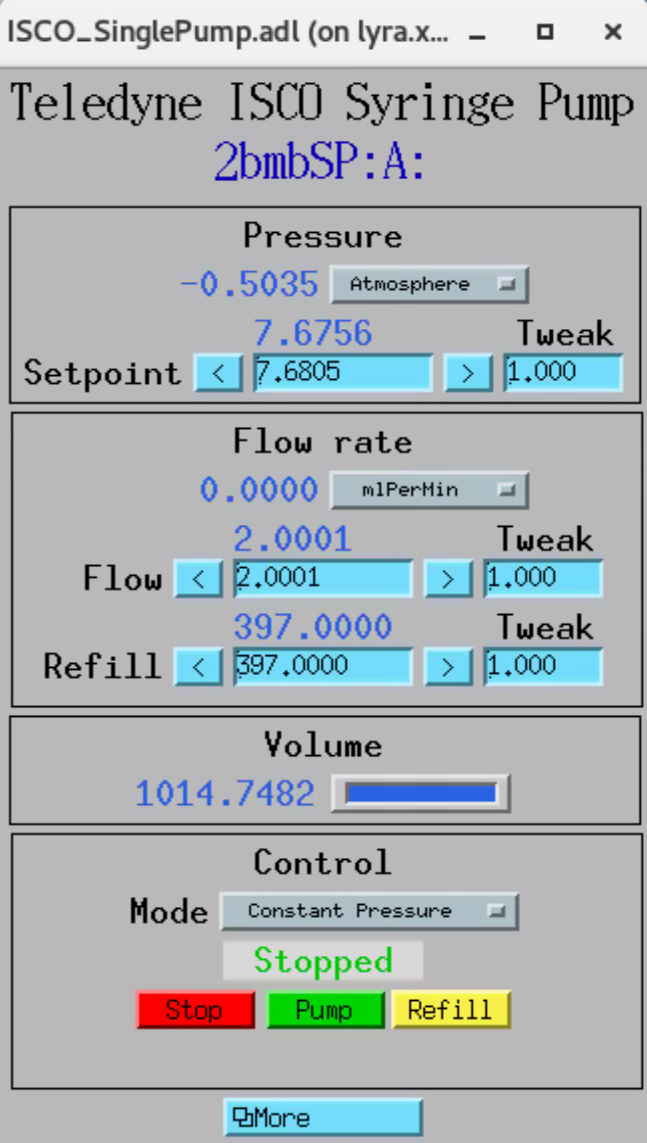
Epics support for the pumps: https://github.com/epics-modules/SyringePump. Note: modbus version should be R3-2 (or higher). To run the Teledyne 1000D Syringe Pump at 2-BM:
[user2bmb@arcturus,478,~]$ cd ~/epics/synApps/support/syringepump/iocBoot/iocISCO
[user2bmb@arcturus,478,~]$ ./start_IOC

[user2bmb@arcturus,478,~]$ ./start_medm
opens the pump control screen:
Mounting
Samples are mounted on a custom tip as shown below:
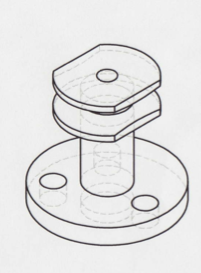
this is mounted on the rotary stage using a KBT25/KBB25 pair. New KBT25T kinematic could also be used.
Alignment
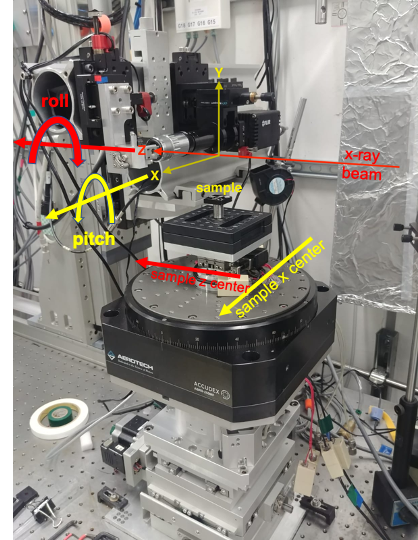
Load the sample on the kinematic mount (if using the automatic alignemt cli Adjust use the tungsten sphere as sample) then using:
move the sample up/down by adjusting Tomo_Sam_Y in the positive/negative direction until the sample is in the field of view of detector.
Automatic
Adjust is a python script that automates all tomography instrument alignemt taks.
Adjust works in combination with a 0.5 mm tungsten sphere that needs to be installed as a sample on top of the rotary stage making sure is in the field of view at least when the rotation axis is at 0 and 10 degrees.
Adjust’s funtions include automatic finding of:
detector pixel size
scintillator focus location
rotation axis location
centering of the sample on the rotation axis
rotation axis pitch and roll
First step is to mesaure the image pixel size by running:
user2bmb@pg10ge $ adjust resolution
then:
user2bmb@pg10ge $ adjust focus
user2bmb@pg10ge $ adjust center
user2bmb@pg10ge $ adjust roll
user2bmb@pg10ge $ adjust pitch
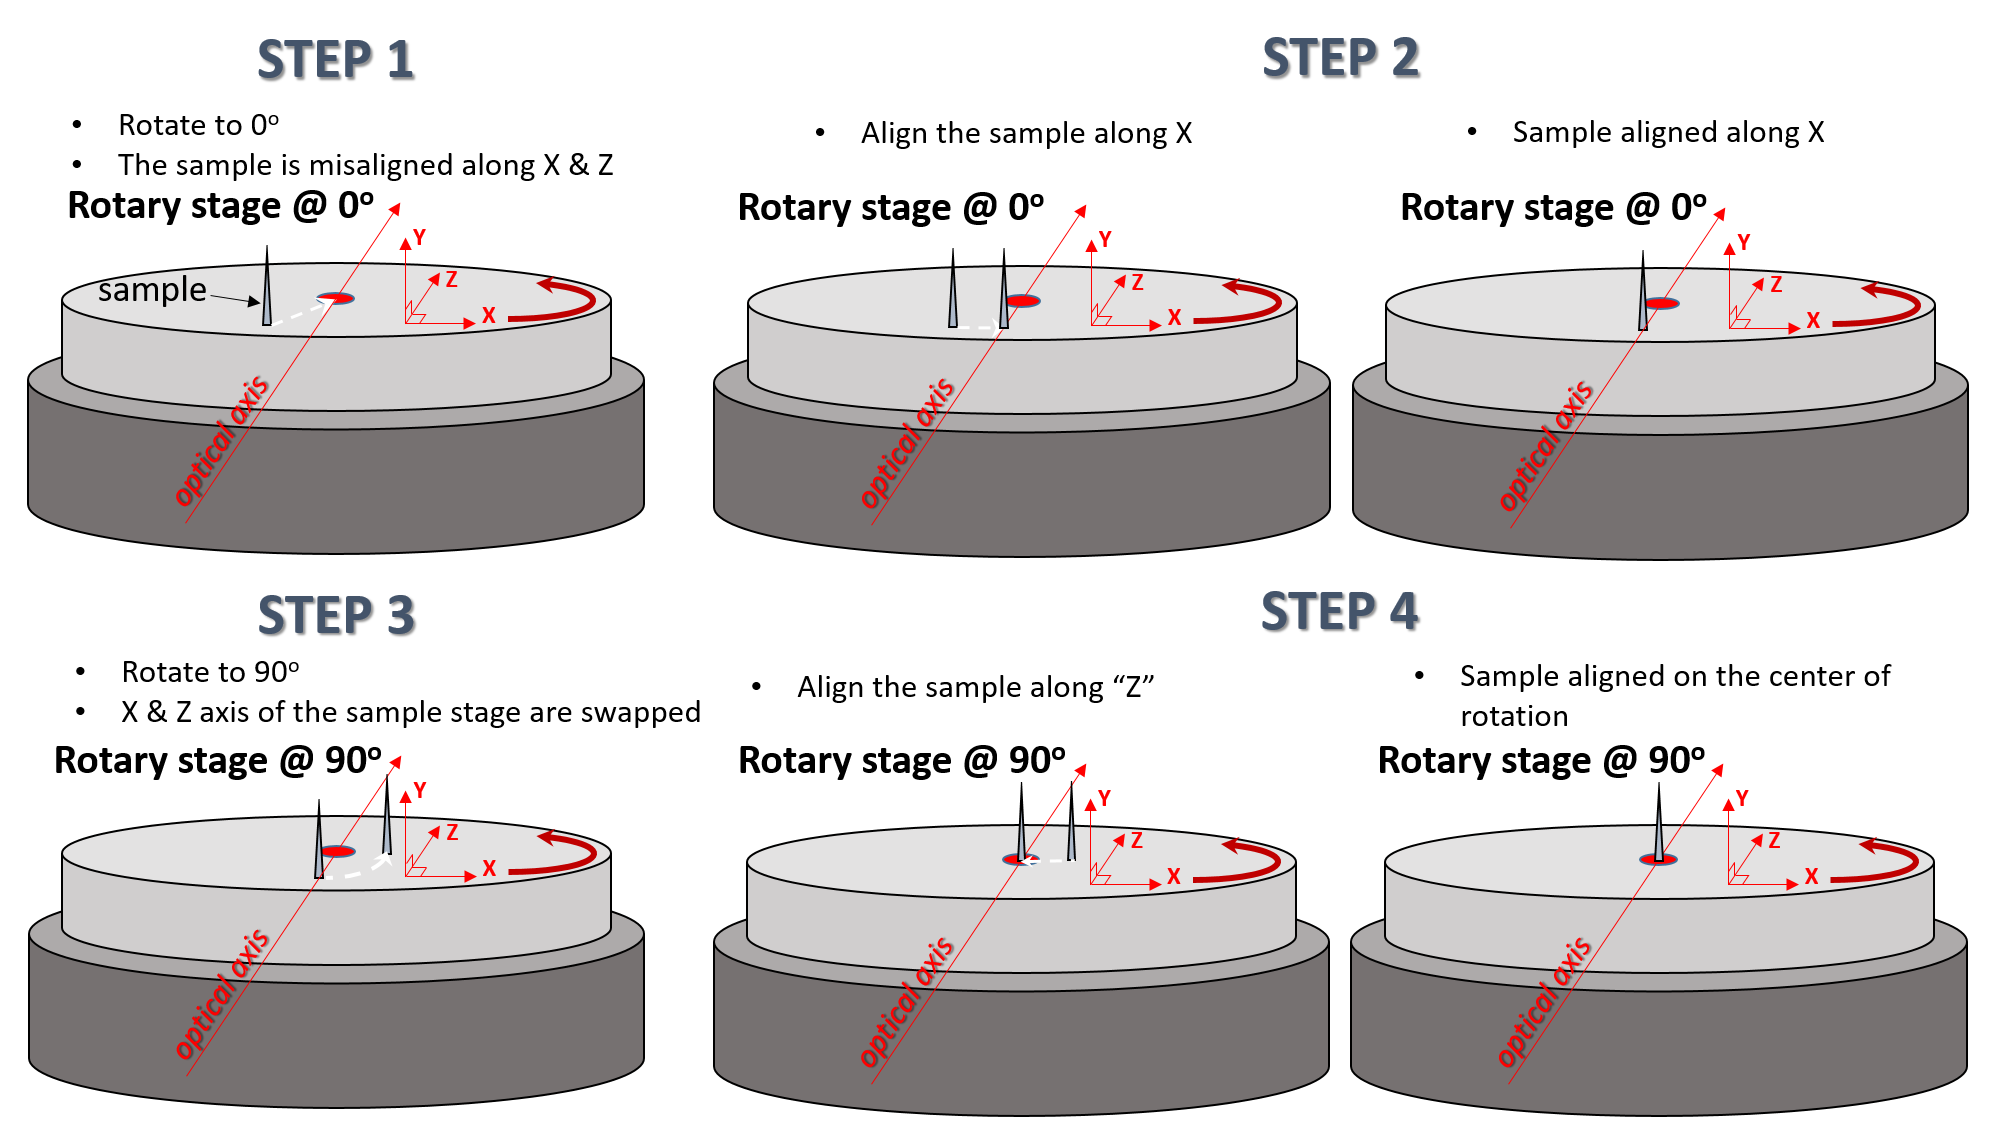
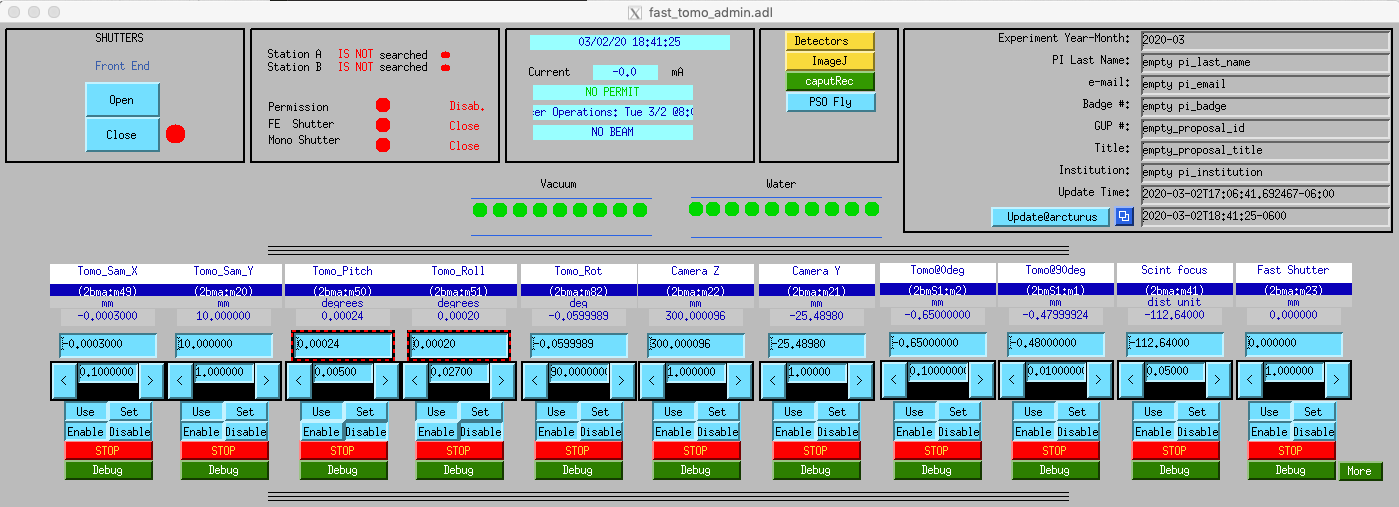
Manual
To center the sample on the rotation axis move the rotary stage Tomo_Rot at 0o then by adjusting the motor called “Tomo@0deg” (which is the sample stage on top of the rotary stage moving in the X director when the rotary stage at 0o) move the sample towards the center of the field of view. Finally move the Tomo_Rot at 180o then by adjusting the motor called “Tomo@1800deg” (which is the sample stage on top of the rotary stage moving in the X director when the rotary stage at 180o) move again the sample towards the center. The same process is described in the 4 steps below: